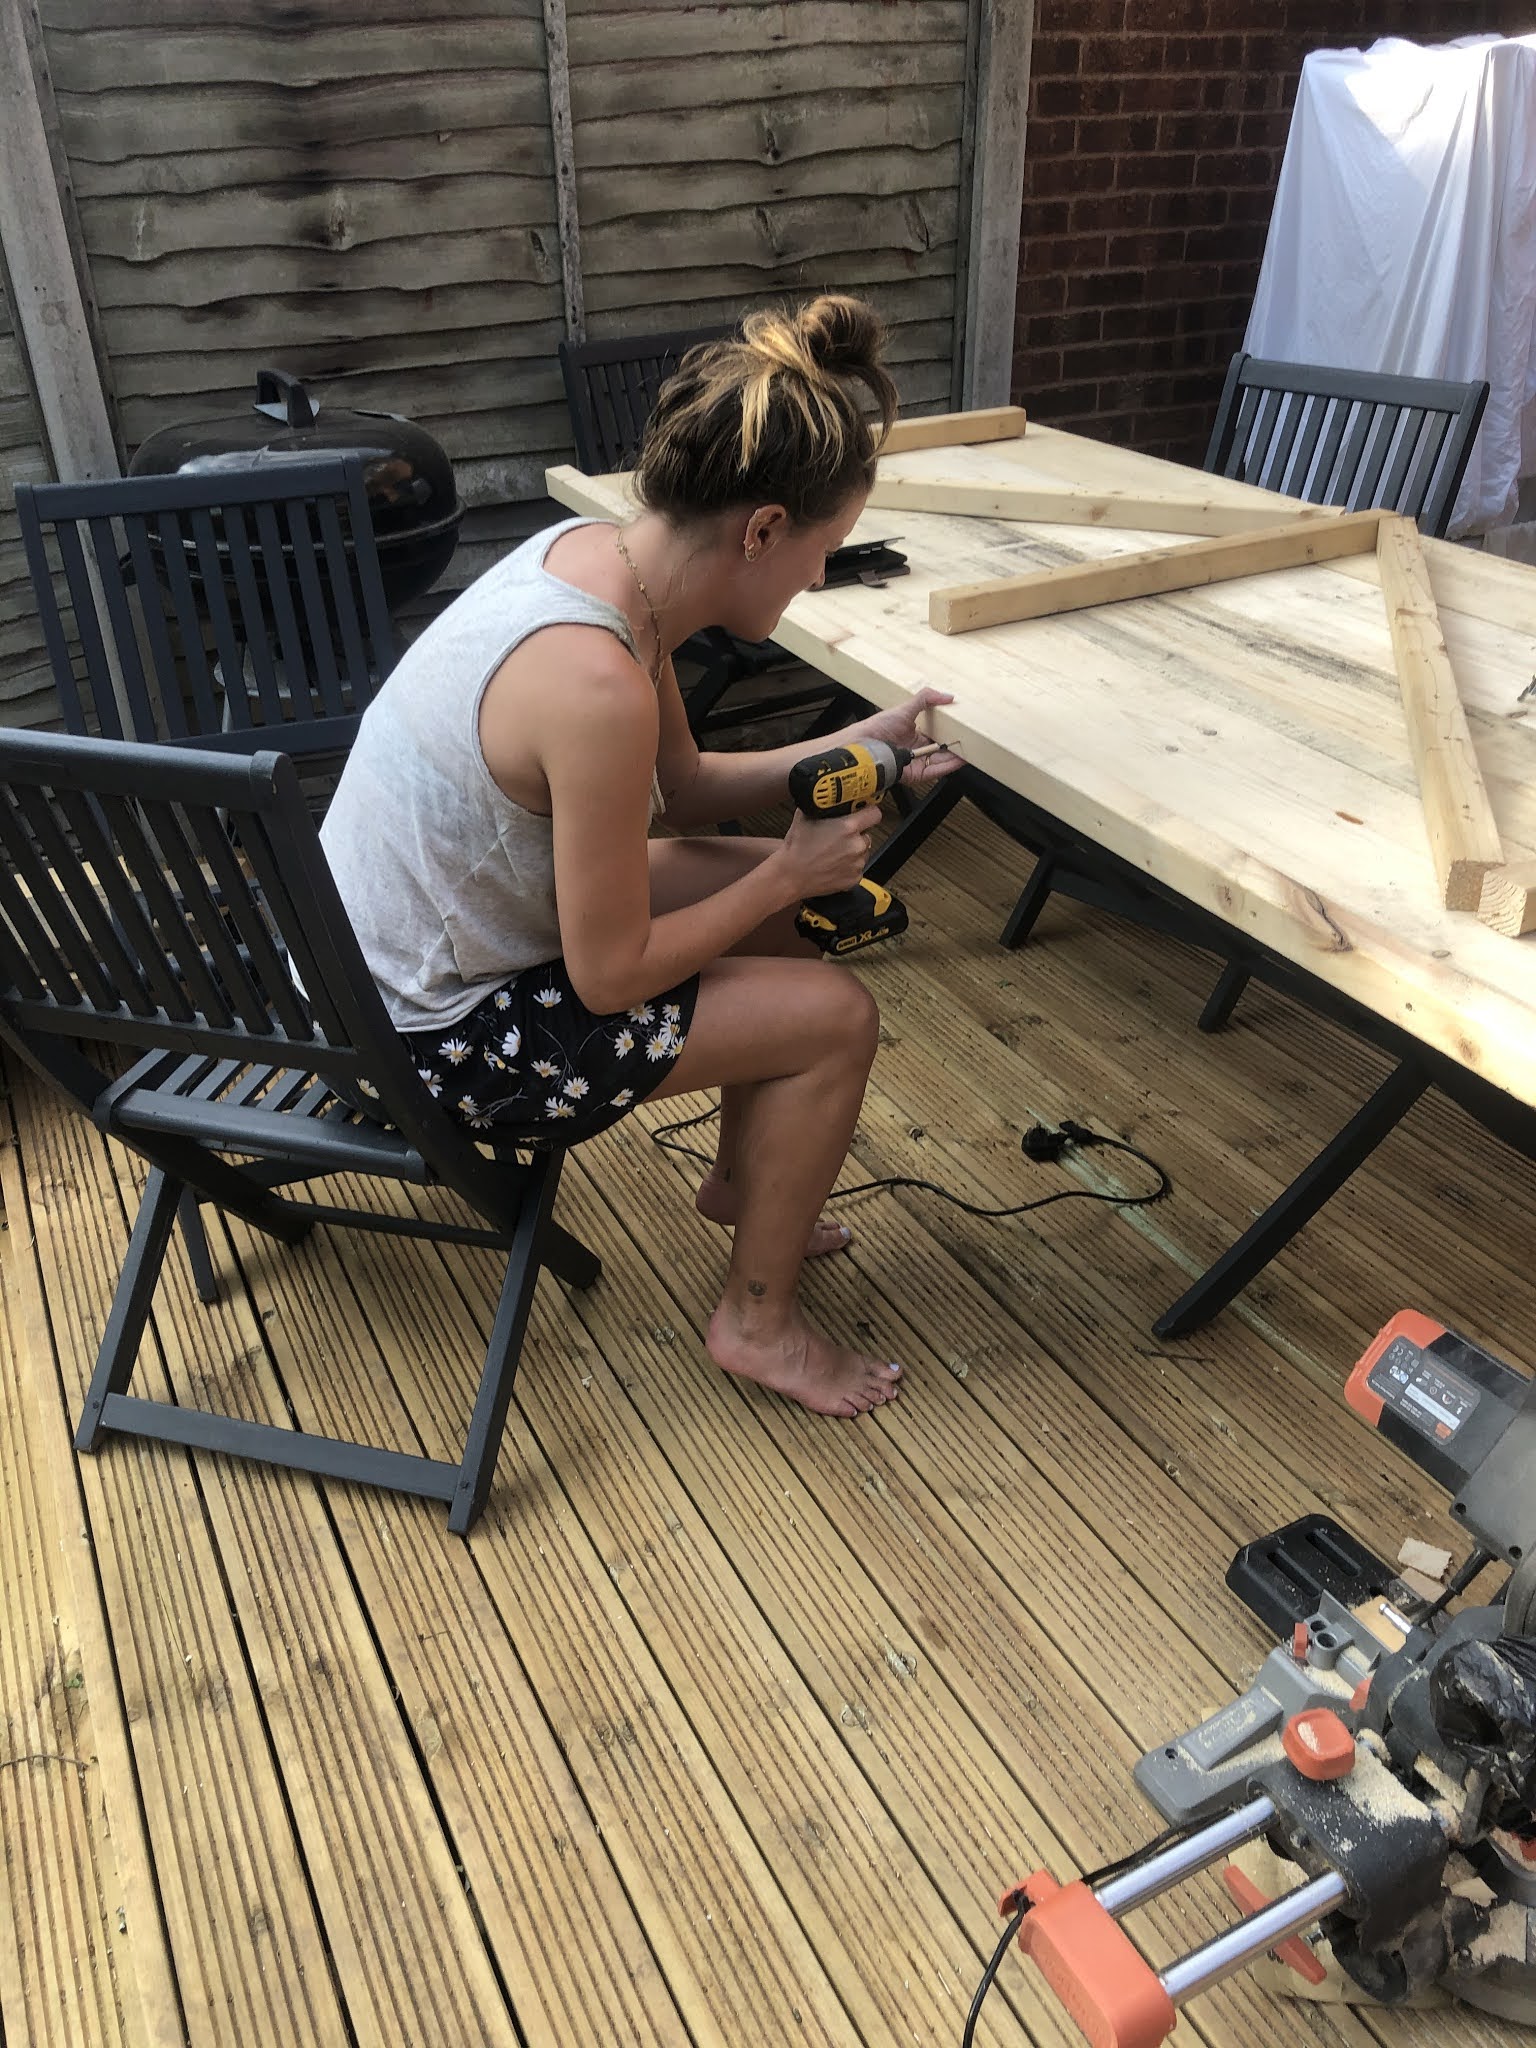
So who knew outdoor furniture was so expensive? We definitely didn't, and after looking at a million different tables all at silly prices, we decided to try and make our own, I love how scaffold boards can make really nice ( and cheap) tables so this is what we decided on.
The scaffold boards we used are new ones from a local timber merchant, we bought 4 - each one measuring 3.9 metres, this is definitely the most cost effective solution, and in total they cost us around £50. First up we decided how big we wanted the table, we knew we wanted to be able to fit at least 8 people around it, 10 maybe at a push, so we opted for 2.2metres long and around 100cm wide. Which is roughly 4 scaffold boards. We did also add 2 x 2 boards which I will talk about later, they did add a bit of length and width to each side.
We then used the leftover bits to create a bench that fits underneath the table. This is 2 scaffold boards wide and around 1.7m long.
Next up, we sanded each board down to make sure they were super smooth, this does take them to a very light colour but you can change this later if you want to.
We then attached the boards together underneath using 2 x 2s, ( again we bought these in the biggest length and cut them down) we did not have a set way to do this, we just made sure that all 4 boards were connected. You can use wood glue to connect your boards together first, but for outside, it is best to leave some room between each board so that expand/ shrink if need be.
After the boards were all attached, we added a boarder to the table, this is completely optional but I think it really finishes it off. We simply drilled screws into the 2 x 2 boards the whole way around on each side.
Next up we added the black industrial legs, from the The hairpin leg company, I think these make the table look so less home made!
Colour wise I couldn't find a stain I liked that was also going to protect the wood. I read online you can use soil, just regular soil from the garden to stain the boards, this brings out the grain so much more. I loved it at this point, and if this was an inside table, I would have just added some lime wax and it would have been perfect. However because this one was for outside, I used a clear yacht protector, as I really want this table to last more than one year. Even though it was clear, it has changed the colour slightly, and it is much more orange now, which was disappointing but in all honesty I still absolutely love it. We can't believe we made it to be honest.
Rough costs:
Scaffold boards £50
2 x 2 timber £20
Hair pin company legs here (these were gifted) £114
Yacht stain here £7.99
Soil - free
I hope this post helps you in some way! I would love it if you would tag me in your table creations if you've found the post helpful :) x


I love this! The table colour is subtle but effective. Did you fill in between the gaps, out of interest. We are going to make our own table this year and this has definitely given me inspiration. Thank you :)
ReplyDeleteAmazing table, thanks for the inspiration. Can I ask where you got your chairs from as I love those too?
ReplyDeleteSo impressive! Yes, outdoor furniture is incredibly expensive, but it's because much of it is handcrafted, like what you created! Excellent work!
ReplyDelete